How to add custom fonts to Flodesk + 25% off discount code

PIN TO SAVE FOR LATER!
You can now upload custom fonts to our favorite email marketing provider — Flodesk! Your emails can be as on-brand as you are. Here’s your step by step guide.
BUT FIRST…
Why we love Flodesk (& 25% off your subscription!)
Flodesk is an intuitive email marketing platform with beautiful pre-made templates that allow you to create and send emails in minutes. It’s by far the simplest email marketing platform we have ever used — and we recommend it to all out clients looking for a new provider.
You can try out Flodesk free for a month with their free trial. If you want to continue with the platform, we have an affiliate link that will save you 25% off your monthly subscription for the first year.
Use our code STYLEDSQUARE to get 30 days free AND 25% off your first year of Flodesk!
To sign up, click the button below:
Step 1:
Log into your flodesk account, hover over your profile photo in the top right corner & click on “branding” in the dropdown.

Step 2:
Scroll down to “Brand Fonts” & click “New Font”

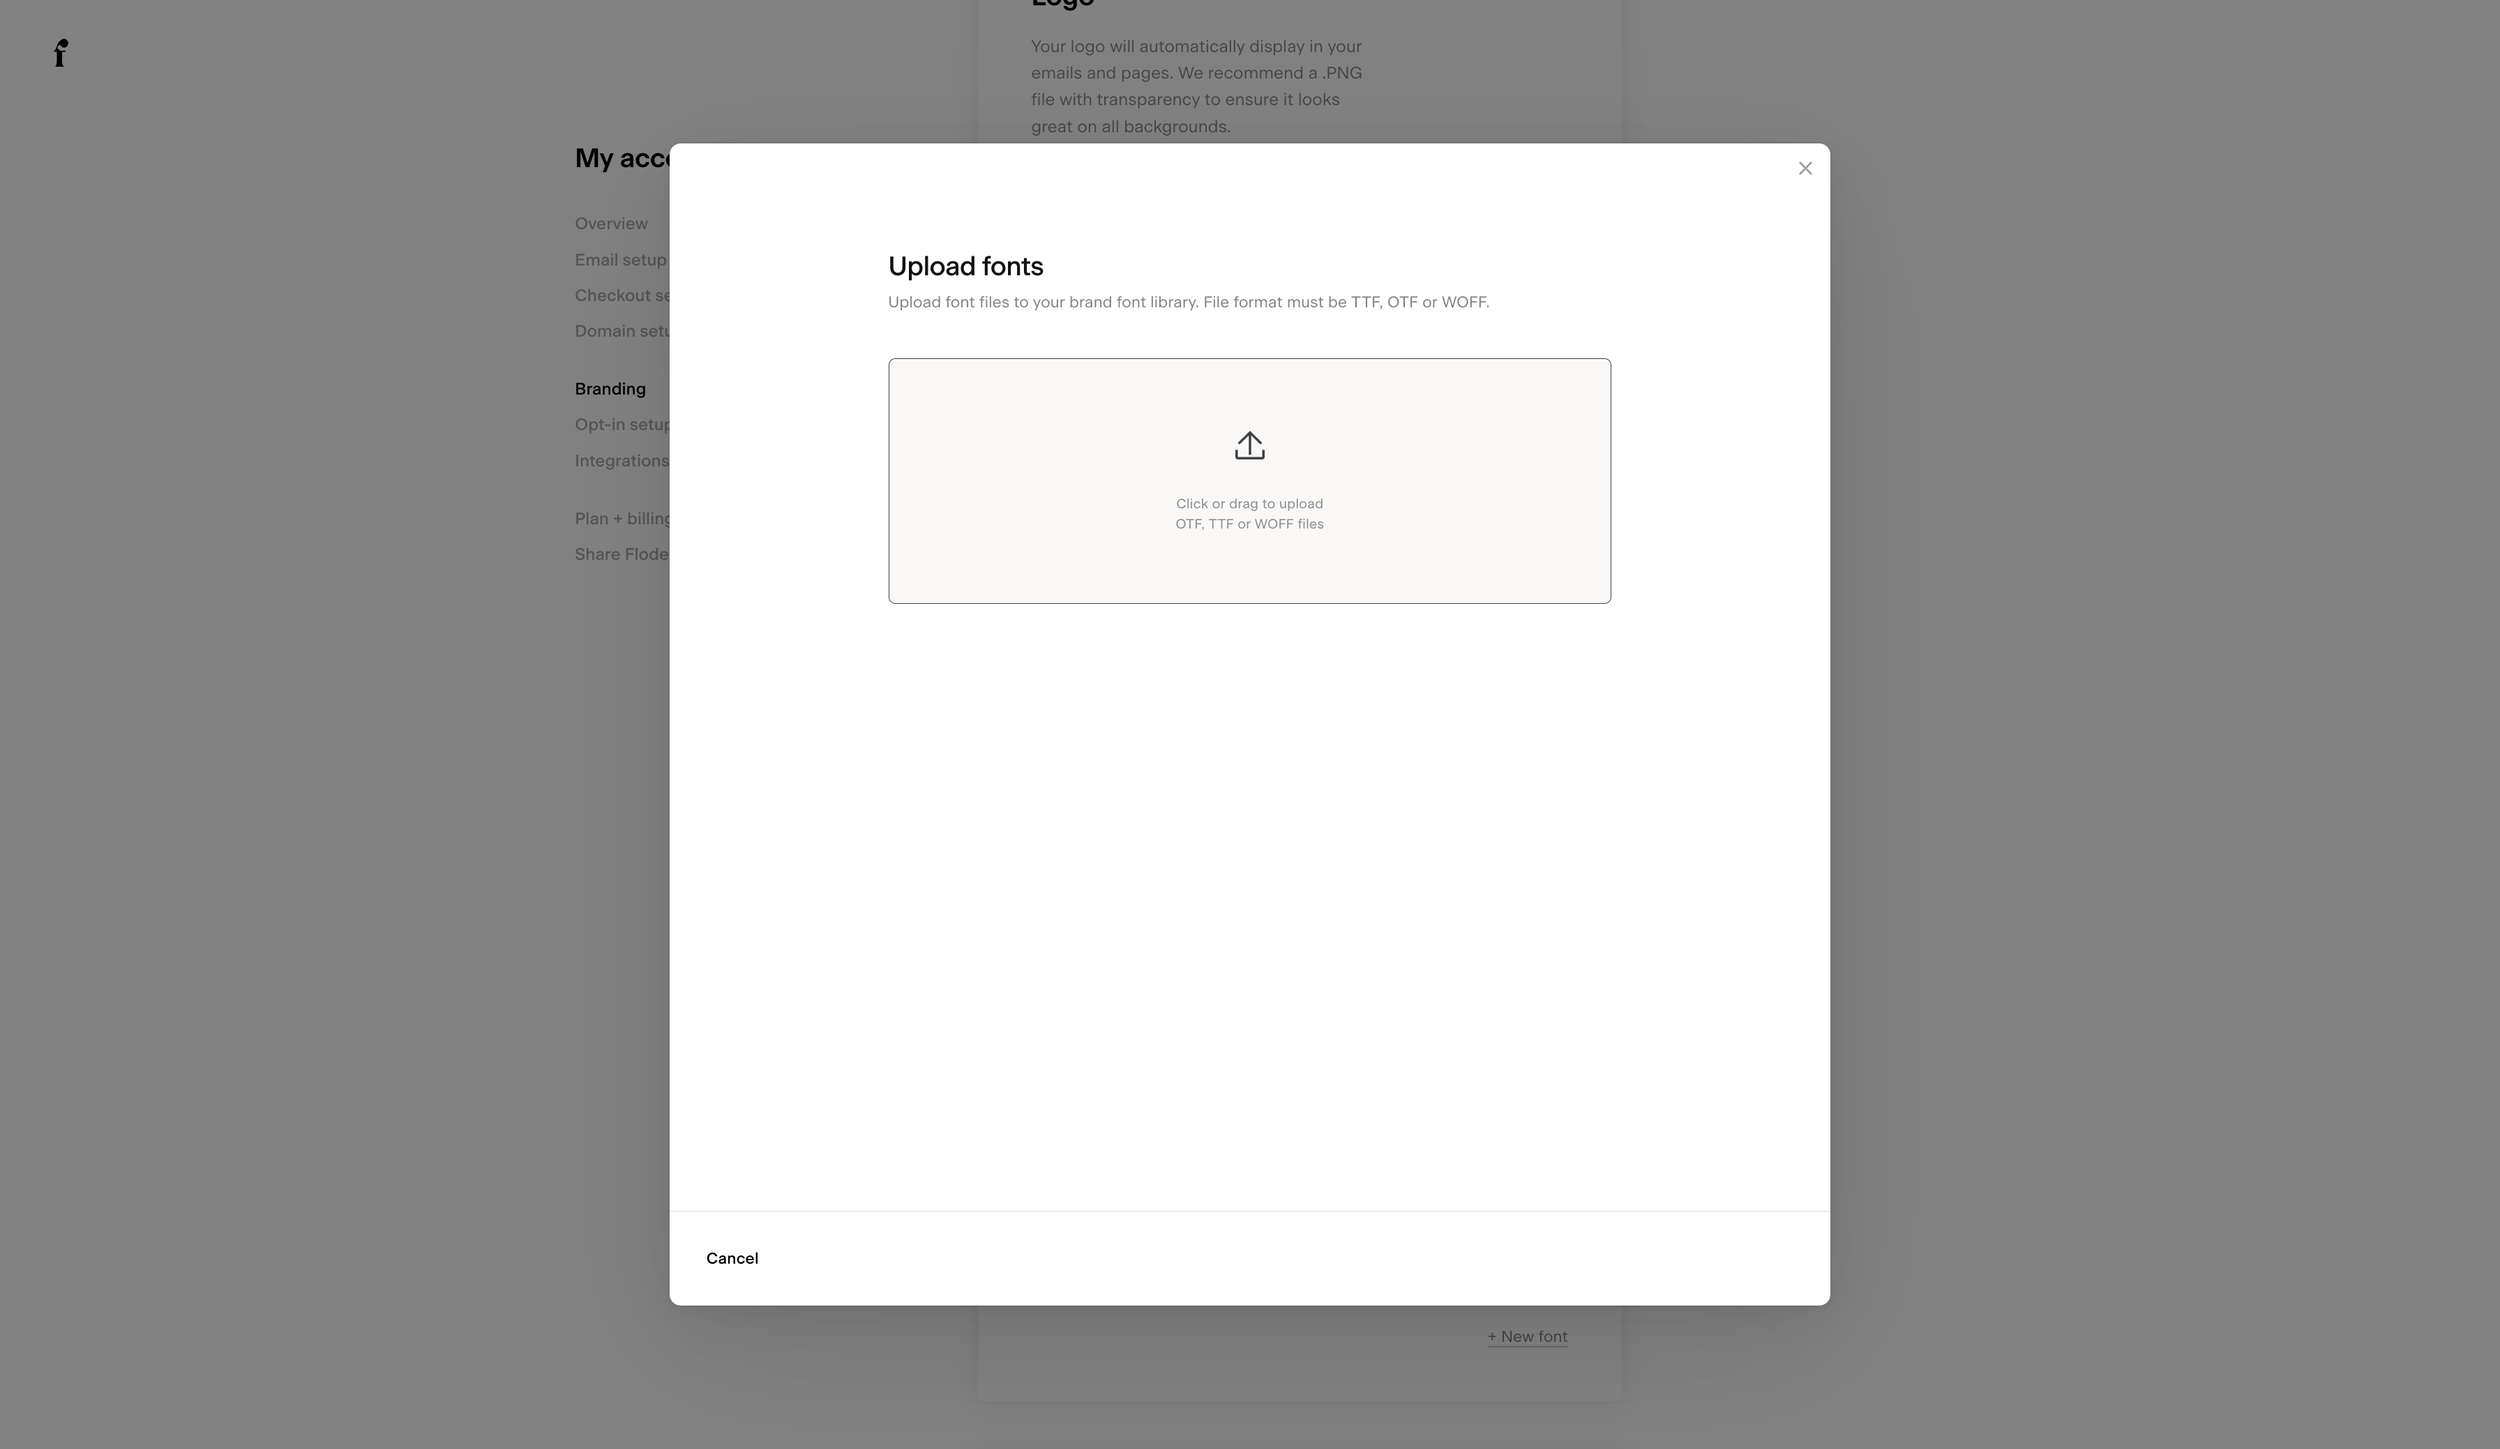
Step 3:
Upload your brand font
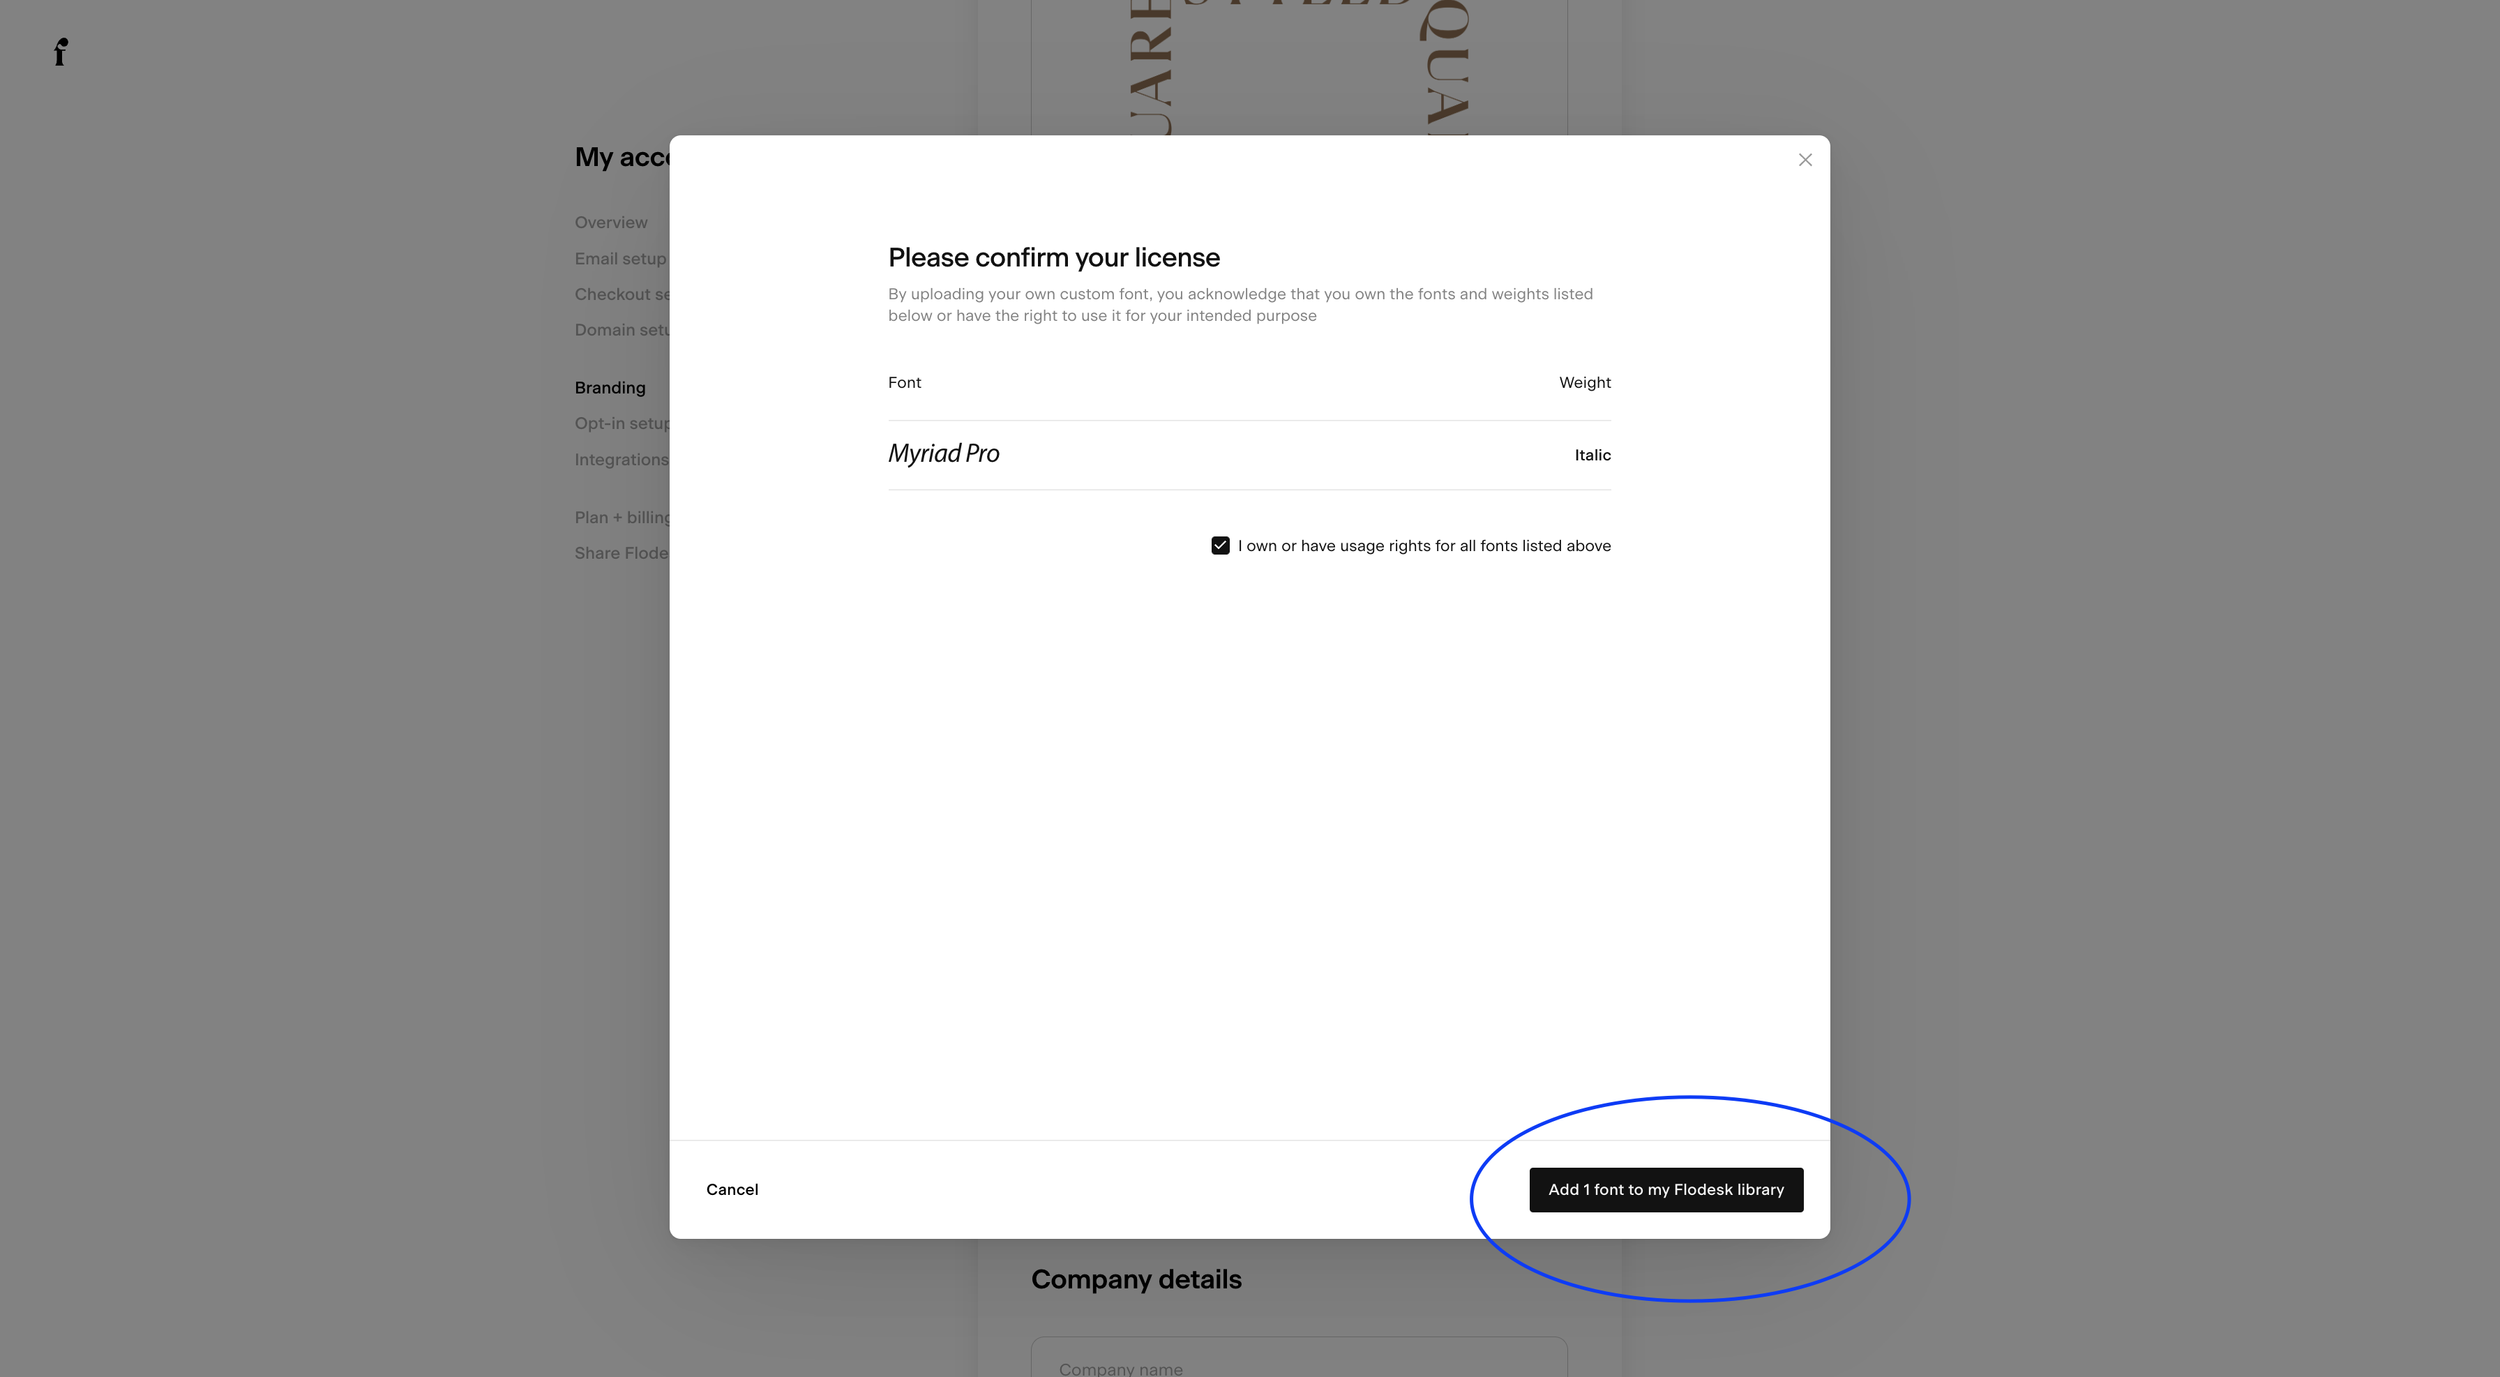
Step 4:
Add the font to your flodesk library
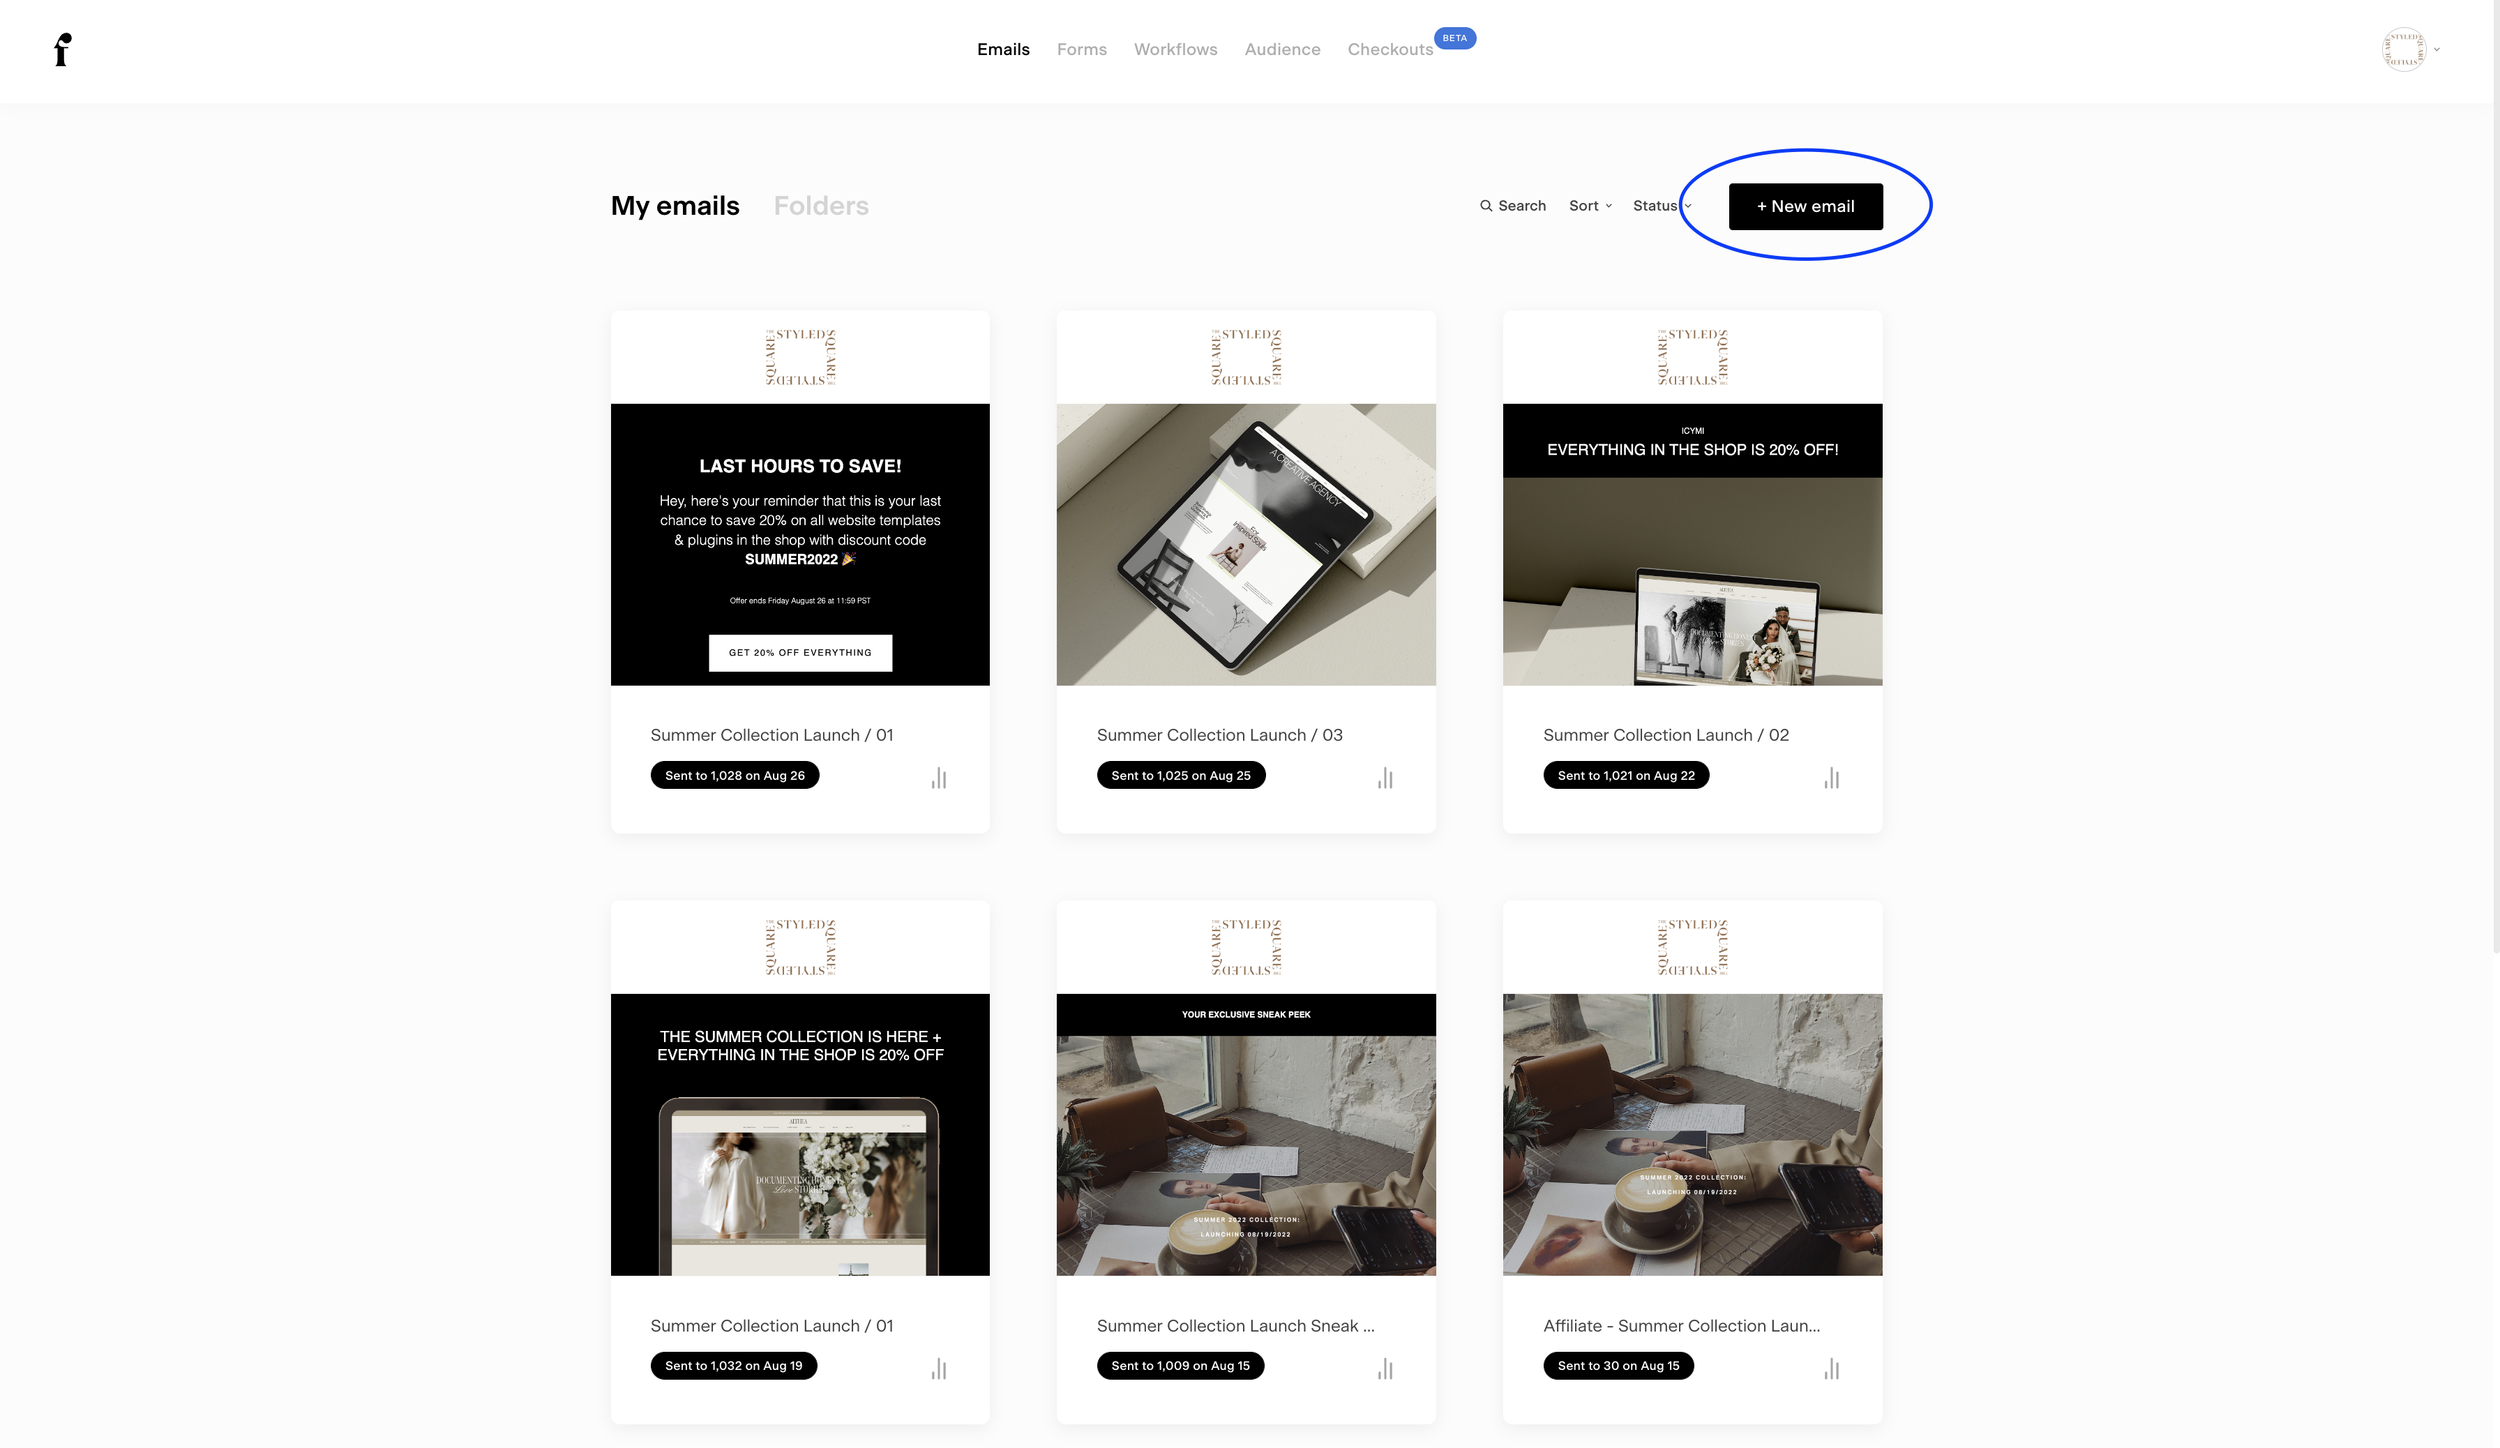
Step 05:
Create a new email
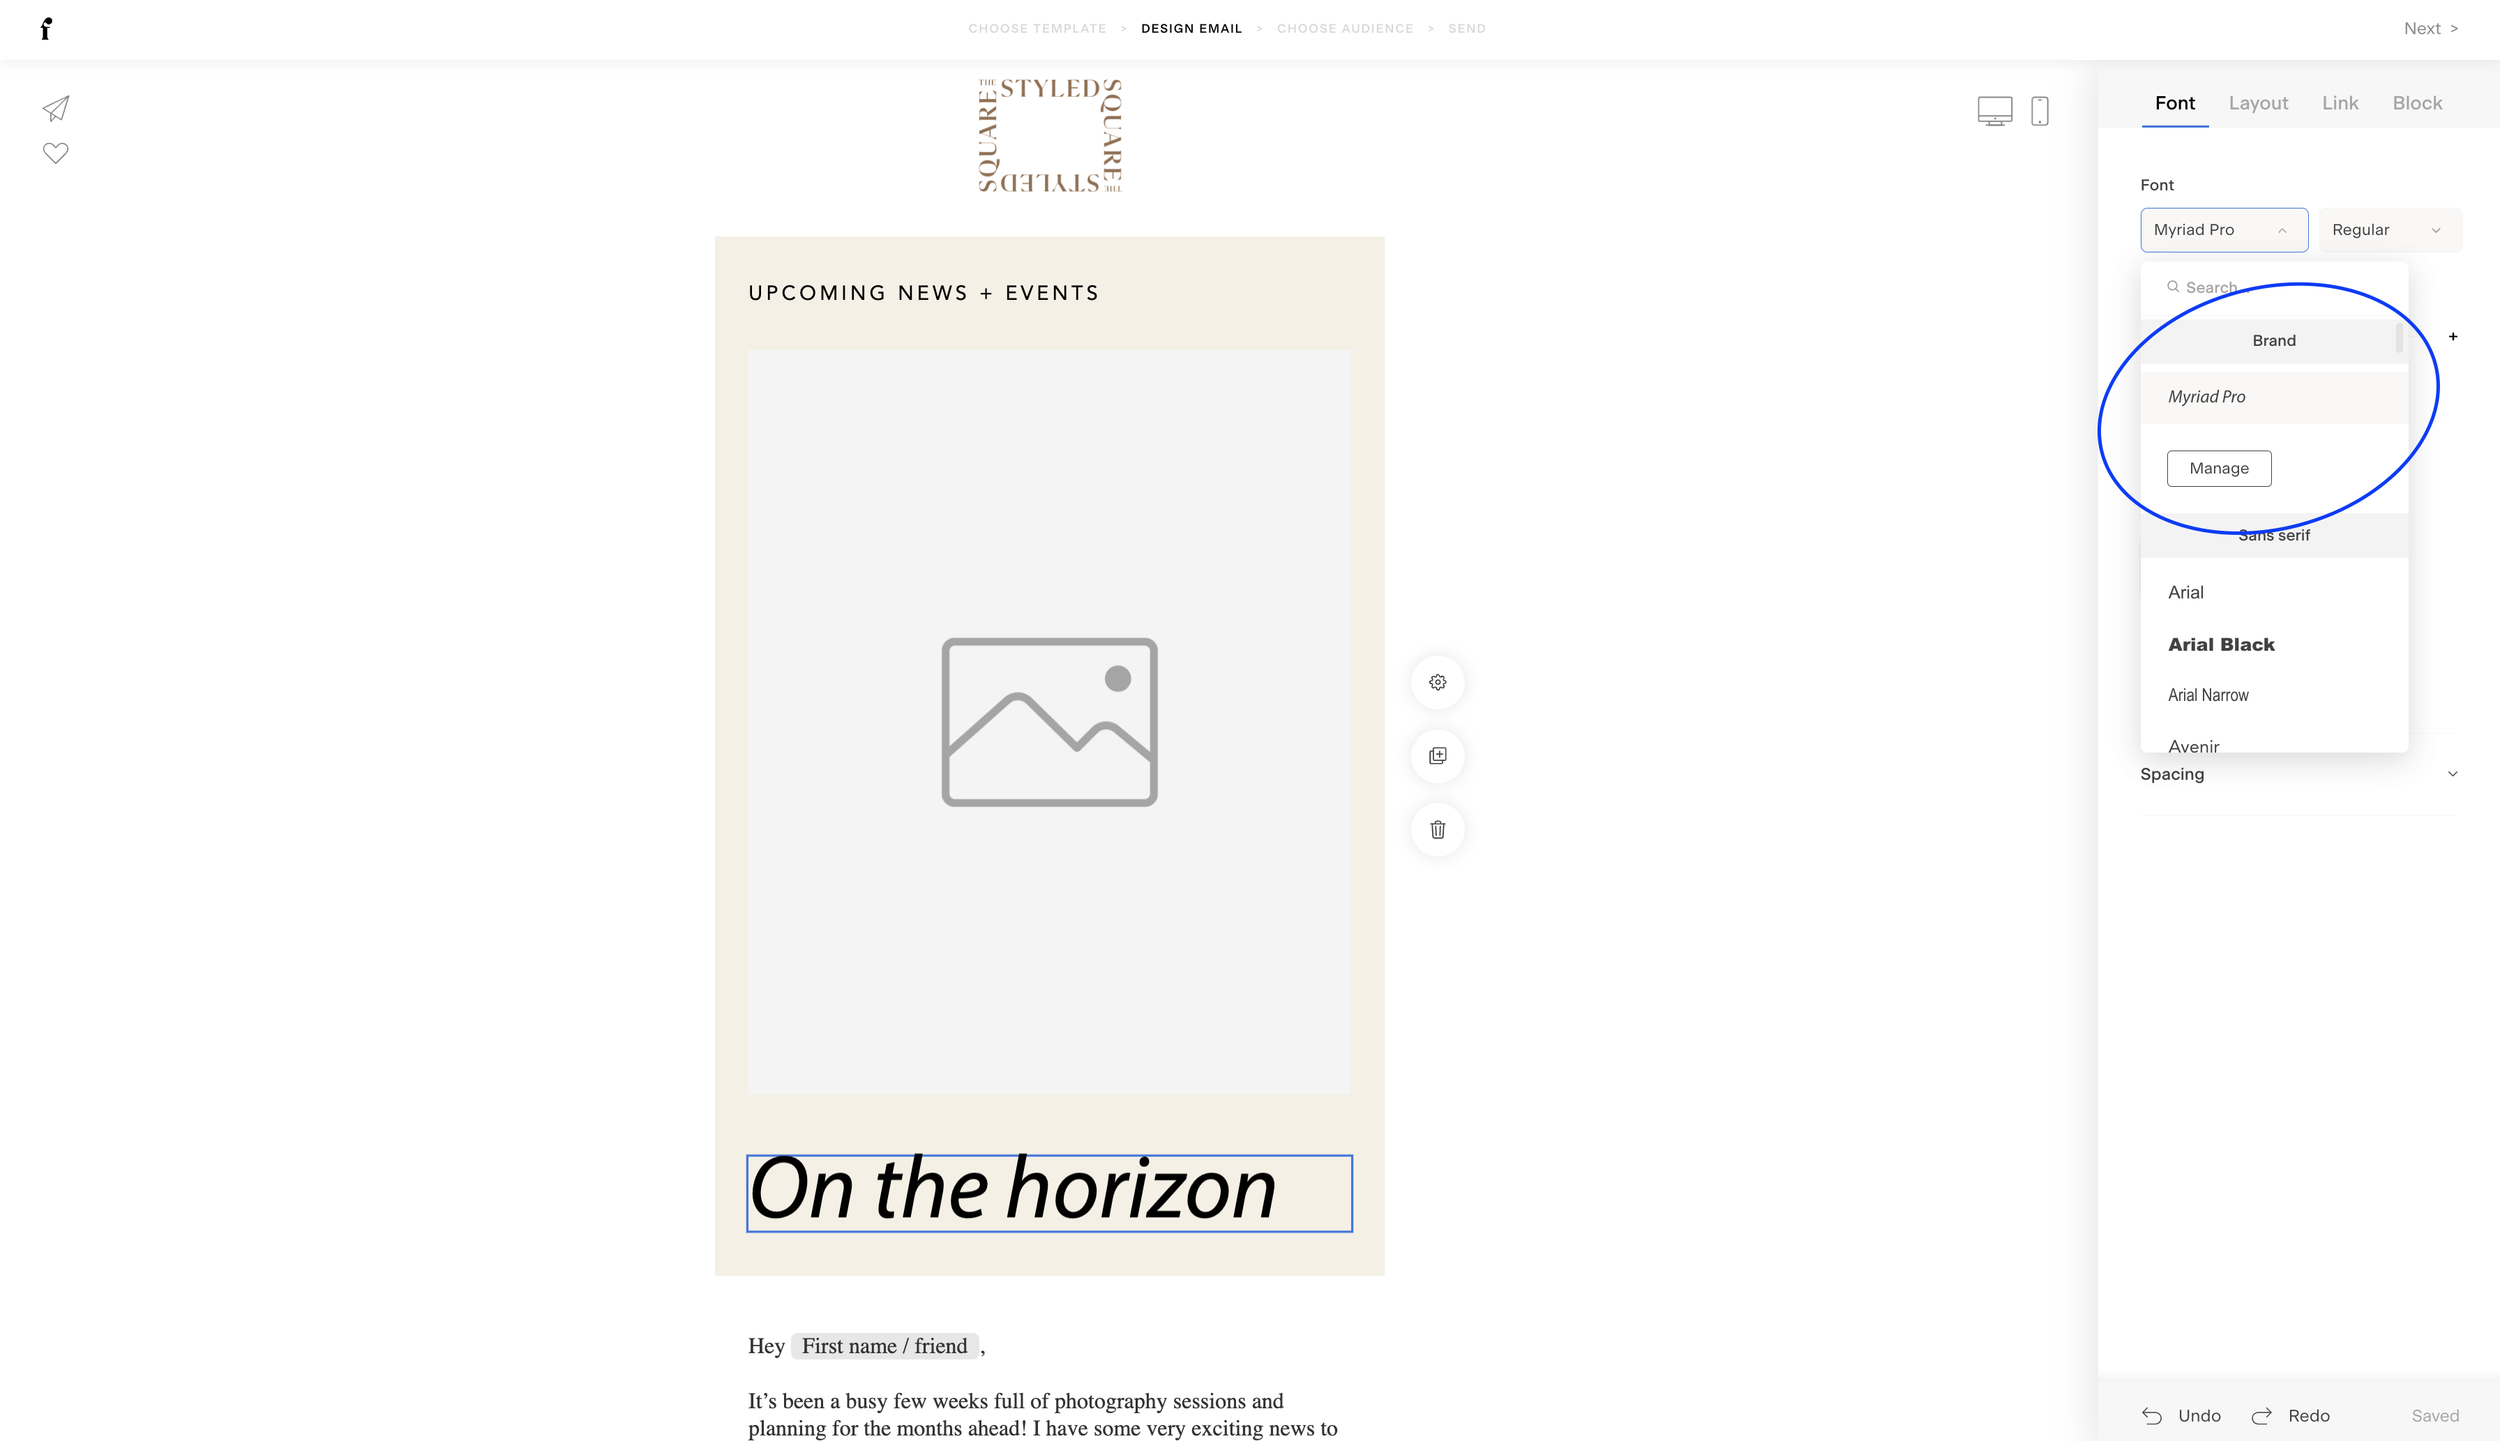
Step 06:
Find your brand font in typography settings. Click “manage” to add more fonts or update uploaded fonts.
Save 25% on your Flodesk subscription
Thanks for reading!
Did this tutorial help? Consider buying me a coffee as thanks! 🥰
Use discount code STYLEDSQUARE10 to save 10% off your Squarespace Subscription!
* Disclaimer: This post contains affiliate links. If you purchase through our links, we may earn a small commission at no extra cost to you. We only ever recommend tools we genuinely use and love.
More tutorials