
How to DIY your brand identity using AI with Claude and Canva AI (no designer needed)
From defining who you serve to launching your Squarespace site, a complete AI-powered branding workflow you can follow step by step.

Building a brand the traditional way is still the gold standard. A great designer, a strategist who really gets your vision, a copywriter who can nail your voice in a single sentence. If you have the budget for that team, hire them.
But most people starting out do not have that budget. And waiting until you can afford it means waiting to show up at all.
This is where AI changes the equation. Not as a replacement for creative professionals, but as a way to get something real off the ground while you are still figuring things out. A brand that looks considered, sounds consistent, and gives you something to build on, without the four-week timeline or the four-figure invoice.
That is exactly what this tutorial is for.
This tutorial walks you through a six-step workflow that uses Claude to think through the strategy, Canva to build the visuals, and Squarespace to bring everything live. By the end you will have a complete brand system, not just a colour palette, but a voice, a personality, and a logo suite.
A strong brand is not a logo. It is a clear point of view on who you serve and why they should care.
What you’ll need to get started:
✓Claude Pro
✓ Canva Pro
How to integrate Canva into Claude:
The workflow:
01.
Define your audience
We’ve created a widget to help you define your audience. Answer the prompts about who your ideal customer is, what they want, and what keeps them up at night. This input powers everything that follows.
Once you’ve completed your brief, click button Continue to brand creation in Claude
Claude will generate a brand direction, colour palette, typography pairing, and tone of voice guide based on everything you have just shared.
Start the workbook:
02.
Uncover your brand foundation with Claude
Once you’ve completed the audience brief and clicked the button Continue to brand creation in Claude, you will be redirected to Claude. Simply send the information and let it generate every layer of your brand identity in one session. You will walk away with six concrete outputs ready to hand off to any design tool.
What Claude generates for you:
✓ Audience statement
A one-paragraph portrait of your ideal customer
✓ Brand personality
3 to 5 traits that shape every decision
✓ Colour palette
Primary, secondary, and accent hex codes
✓ Typography
Heading and body font pairings
✓ Tone of voice
Words and phrases that do and do not fit
✓ Mood board brief
Visual references to guide your design work

03.
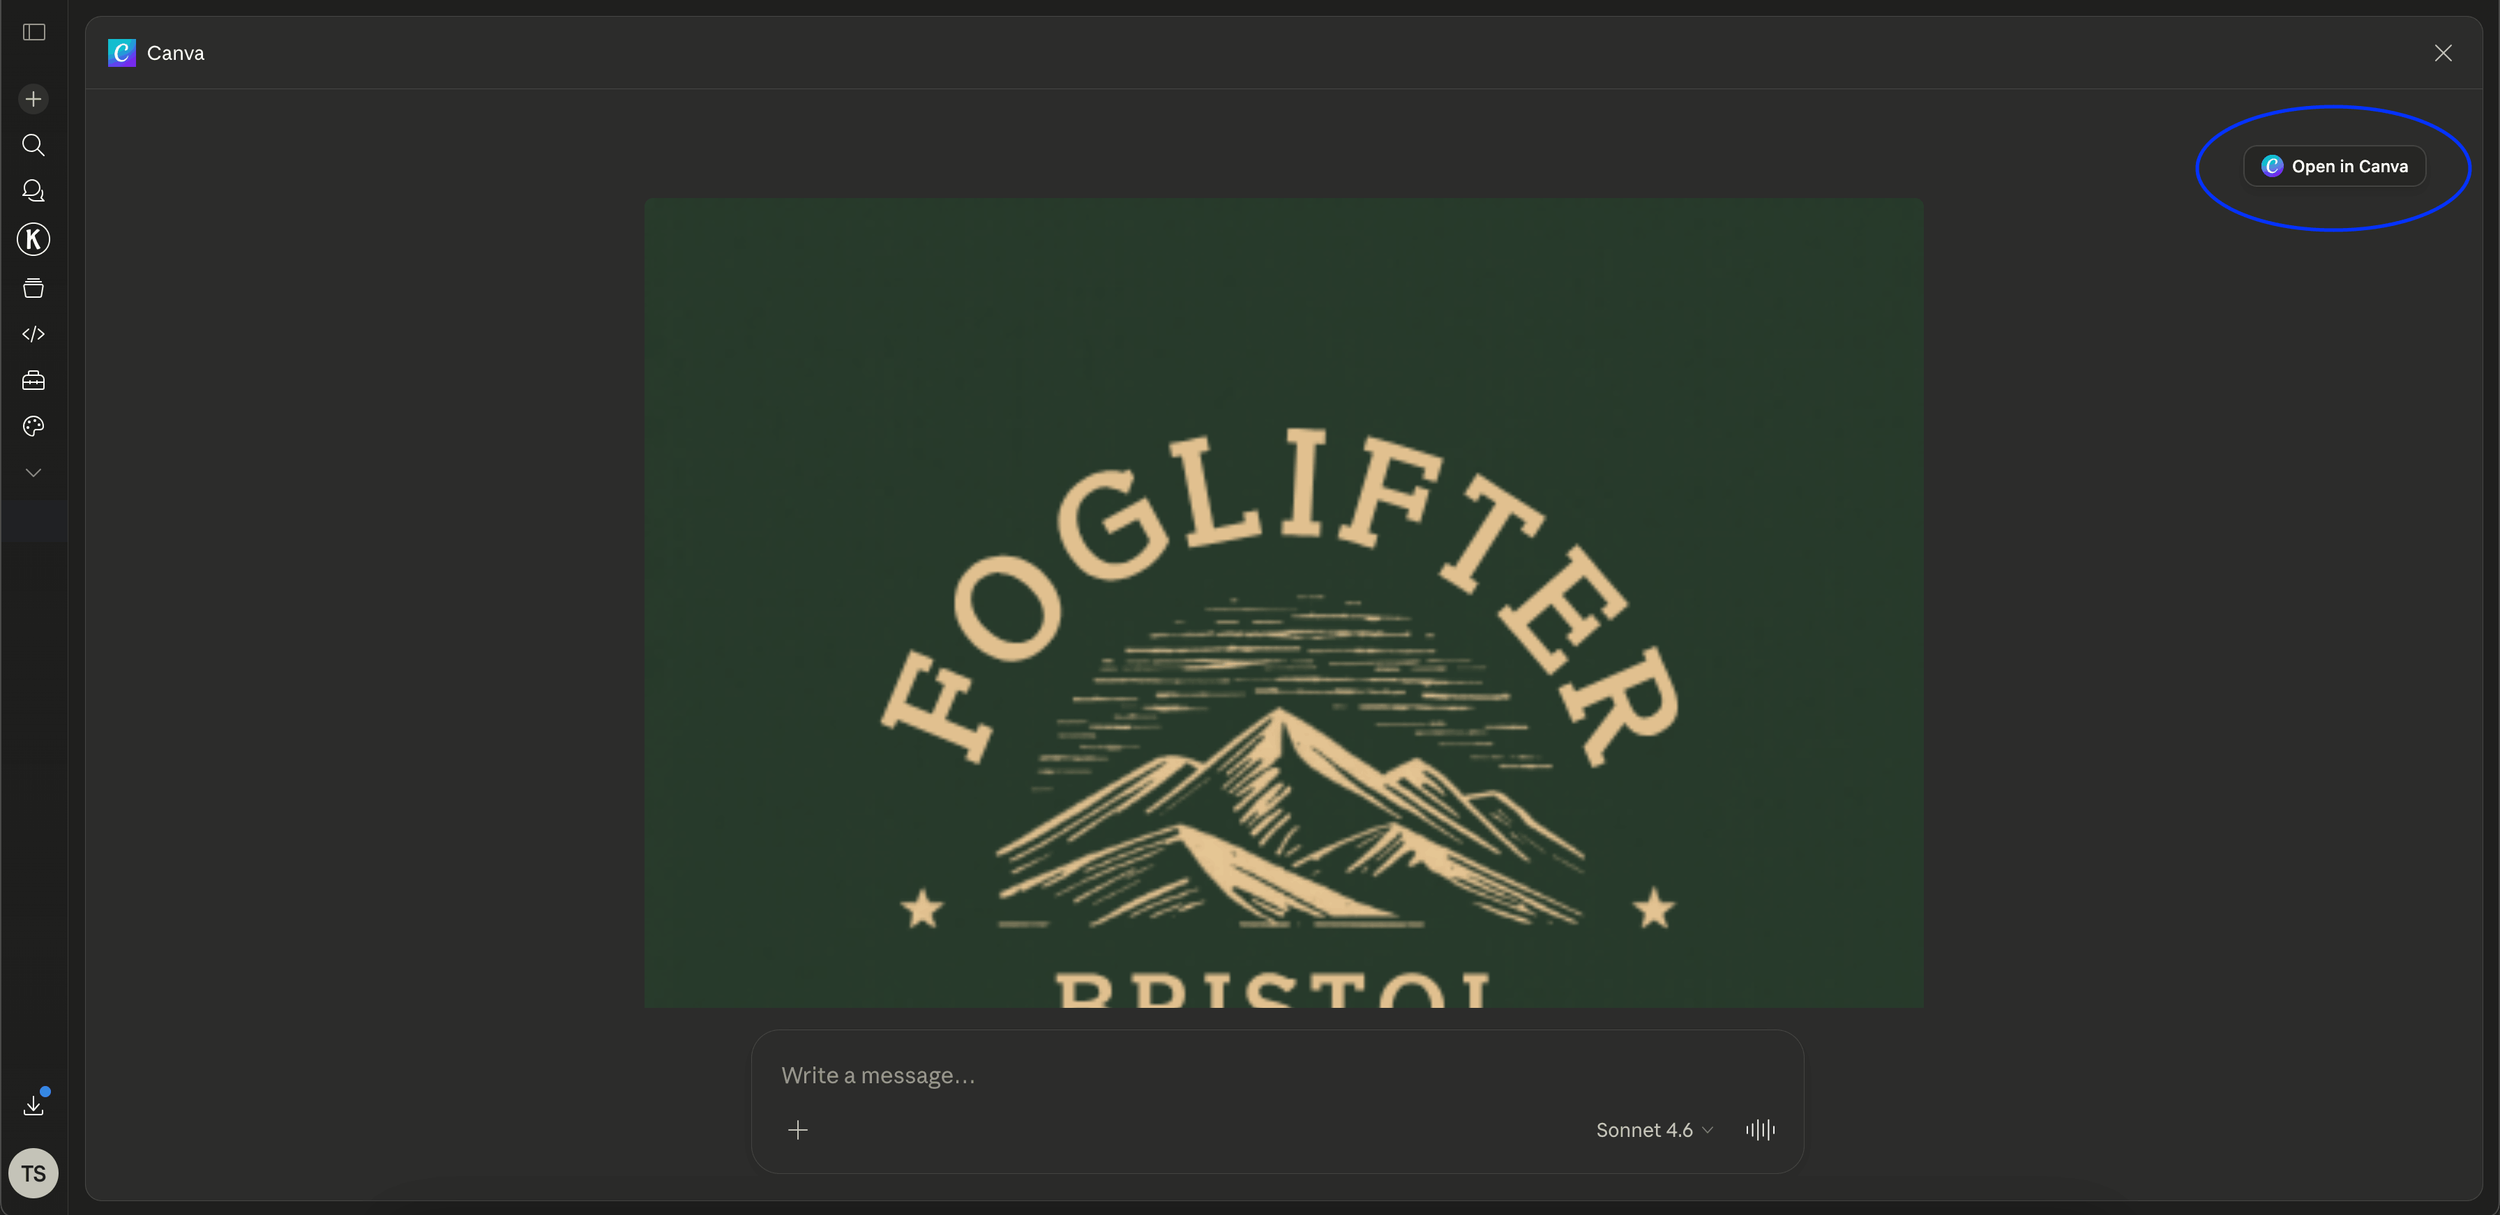
Generate primary logo options in Canva
Prompt Canva's AI to produce four distinct logo concepts, covering serif, sans-serif, script, and icon-led directions. Variety ensures you have real options, not just iterations of one idea.
Power your workflow with this prompt (replace content as needed):
Generate 5 primary logo options for [business name], a [one-line description of your business]. The brand personality is [2-3 traits from your brand foundation]. Colour direction: [your palette]. Create variety across the four concepts: one serif wordmark, one sans-serif wordmark, one script option, one slab serif and one icon-led design. Each should feel distinct but consistent with the brand. Avoid generic or overused logo styles.

Note: you can continue to prompt Claude with font, icon, spacing suggestions till you land on a design that works for you
Now click Open in Canva
04.
Create logo variations in Canva
Once you have a concept you like, this is where it becomes a full system. Head back into Canva and open the design you want to build from. You are going to create six variations from your chosen logo so you have the right version for every situation your brand shows up in.
For each variation, duplicate your original design in Canva rather than editing the same file. Keep everything in one organized folder so your exports stay clean and nothing gets overwritten.
Logo design options:
Primary logo: your main mark, icon and wordmark together. This is the default version you will use most often.

Logotype / stacked compact version: wordmark only, no icon. Clean, text-driven, and surprisingly versatile (great for website navigation). Use this when the icon feels too heavy for the context, or when your brand name is strong enough to carry the design on its own.

Horizontal lockup: icon on the left, wordmark to the right. Built for website headers and email signatures where vertical space is tight.

Icon-only mark: your symbol on its own, no wordmark. This is your favicon, your social media profile picture, and your app icon.
05.
Export in Canva
Before exporting, review each logo variation inside Canva's editor. Adjust colours to match your exact hex codes, swap fonts if needed, and fine-tune spacing if needed. Then export each with as PNGs with transparent backgrounds at the right size for its intended use.

How to export files in Canva
06.
Bring it all into Squarespace
Download your logo assets from Canva and head into your Squarespace settings. Update your primary logo, browser favicon, site fonts, and colour palette so every touchpoint matches the brand you just built.
Upload your logo
WEBSITE → PAGES → HEADER → SITE TITLE AND LOGO
In your Squarespace dashboard, go to Website then open Pages
In Edit mode, click the Edit Site Header on your header to open Header settings
Select Site title and logo, then click Add image under the logo section
Upload your primary logo file from Canva (use a PNG with transparent background for best results)
Adjust the logo width using the slider until it sits comfortably in the header, then hit Save
Update your browser icon
SETTINGS → BROWSER ICON
In your website dashboard, go to Settings and select Favicon
Click Upload an image and choose your icon-only mark exported from Canva
Save
Update site fonts
DESIGN → FONTS
Go to Site Styles (pen icon, top right), then click Fonts
Click Fonts
Search for your heading font from your Claude brand output and select it
Repeat for your body font
Click Save and preview across a few pages to check consistency
Update your colour palette
DESIGN → COLORS
Go to Site Styles then click Colors to open the colour theme editor
Click Edit theme on your current colour theme
Click each colour swatch and paste in the hex codes from your Claude colour palette
Map your primary brand colour to the main accent, and your background colour to the page background swatch
Customize specific elements as needed (go to specific color theme and find element you’d like to update)
Click Save
Ready to put your new brand to work?
Pair them with one of our Squarespace 7.1 website templates:

Resonance
An editorial website designed for photographers, content creators, and creative service providers.
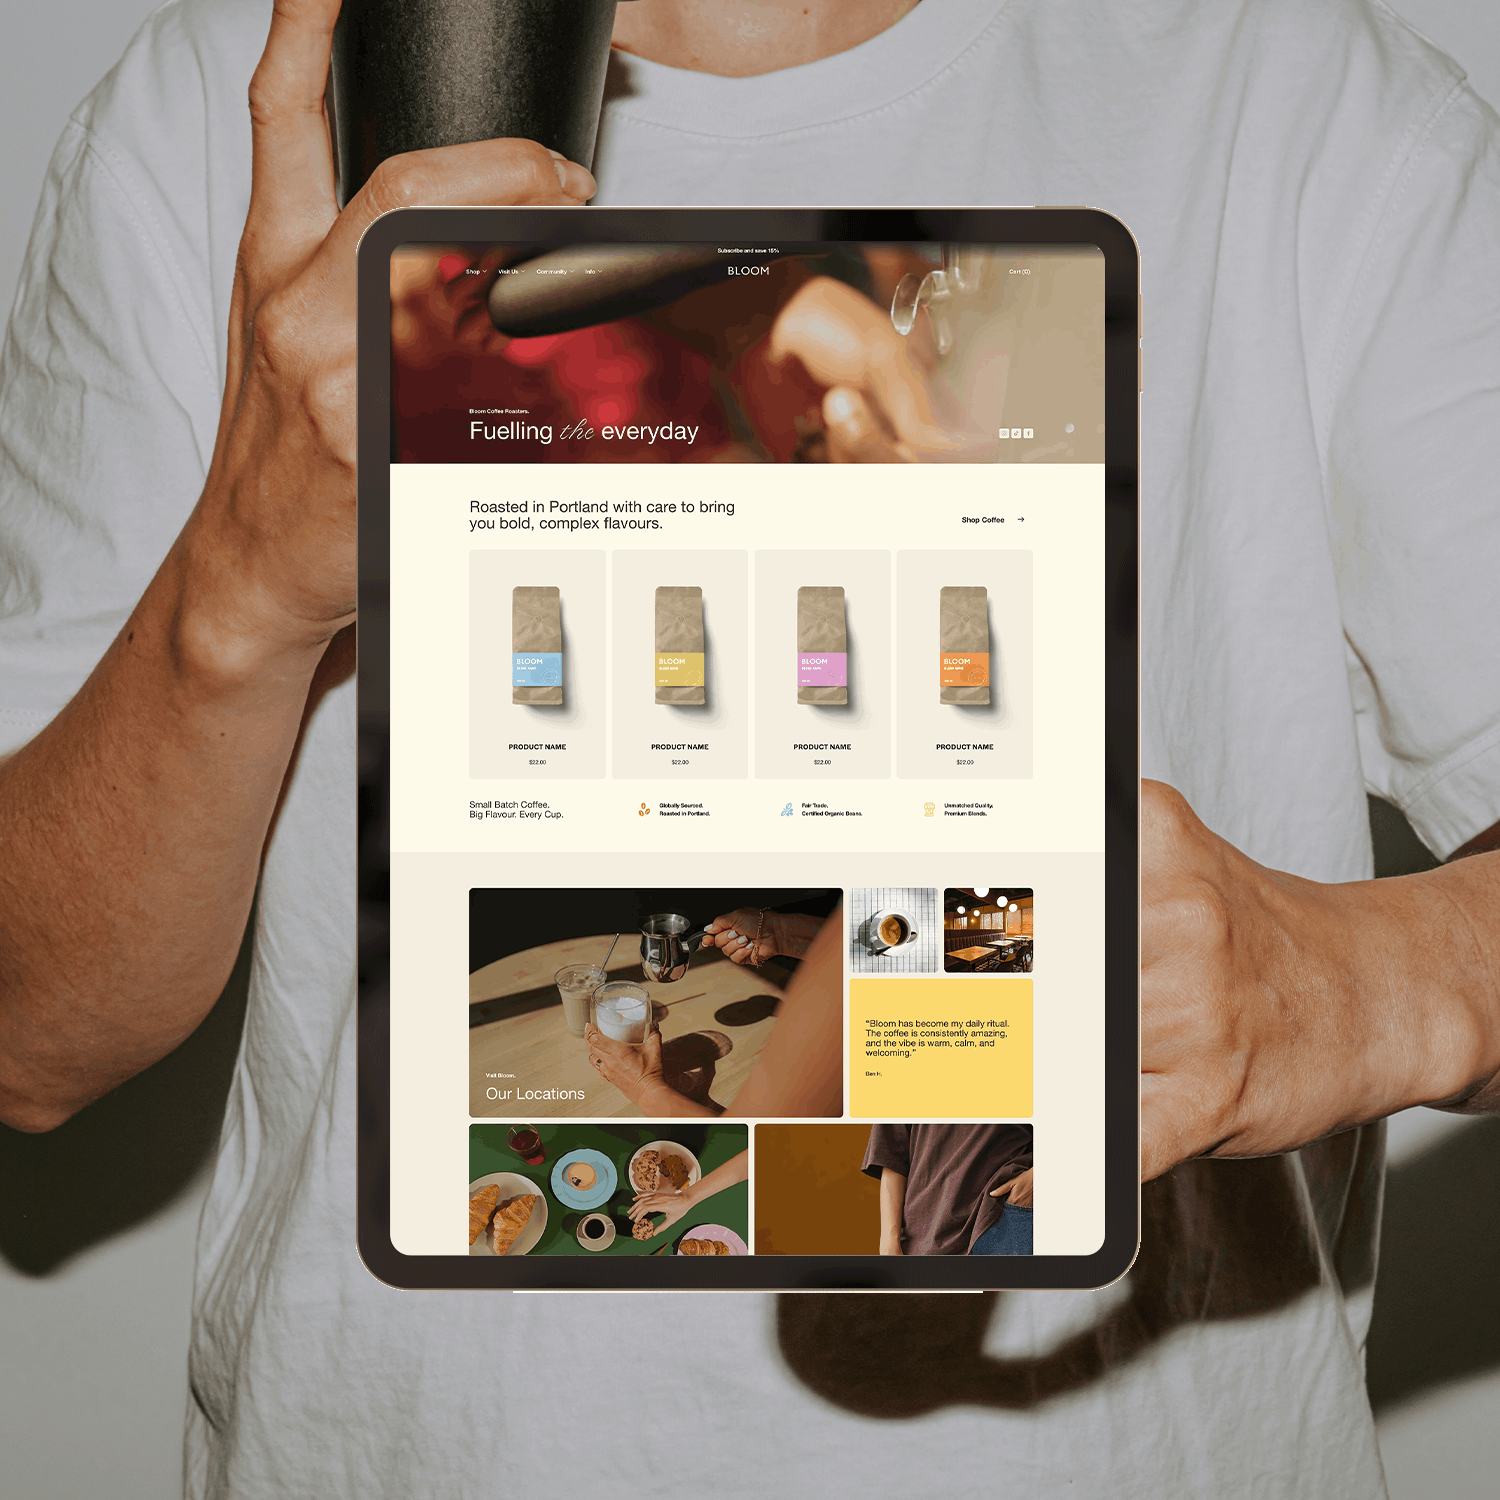
Bloom
A modern website template designed for community focused location-based businesses.
Thanks for reading!
Did this tutorial help? Consider buying me a coffee as thanks! 🥰
Use discount code STYLEDSQUARE10 to save 10% off your Squarespace Subscription!
* Disclaimer: This post contains affiliate links. If you purchase through our links, we may earn a small commission at no extra cost to you. We only ever recommend tools we genuinely use and love.
More Resources


Pin to save!
